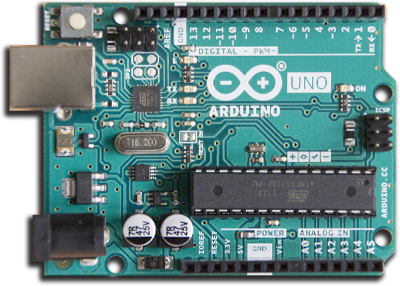
ESP8266 ARDUINO CON WIFI
CARACTERÍSTICAS DEL ESP8266
Sketch
/*
Switch statement

Demonstrates the use of a switch statement. The switch statement allows you
to choose from among a set of discrete values of a variable. It's like a
series of if statements.

To see this sketch in action, put the board and sensor in a well-lit room,
open the Serial Monitor, and move your hand gradually down over the sensor.

The circuit:
- photoresistor from analog in 0 to +5V
- 10K resistor from analog in 0 to ground

created 1 Jul 2009
modified 9 Apr 2012
by Tom Igoe

This example code is in the public domain.

http://www.arduino.cc/en/Tutorial/SwitchCase
*/

// these constants won't change. They are the lowest and highest readings you
// get from your sensor:
const int sensorMin = 0;      // sensor minimum, discovered through experiment
const int sensorMax = 600;    // sensor maximum, discovered through experiment

void setup() {
// initialize serial communication:
Serial.begin(9600);
}

void loop() {
// read the sensor:
int sensorReading = analogRead(A0);
// map the sensor range to a range of four options:
int range = map(sensorReading, sensorMin, sensorMax, 0, 3);

// do something different depending on the range value:
switch (range) {
case 0:    // your hand is on the sensor
  Serial.println("dark");
  break;
case 1:    // your hand is close to the sensor
  Serial.println("dim");
  break;
case 2:    // your hand is a few inches from the sensor
  Serial.println("medium");
  break;
case 3:    // your hand is nowhere near the sensor
  Serial.println("bright");
  break;
}
delay(1);        // delay in between reads for stability
}