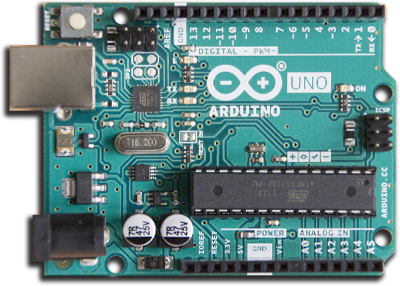
ESP8266 ARDUINO CON WIFI
CARACTERÍSTICAS DEL ESP8266
Sketch
int timer = 200;           // The higher the number, the slower the timing.
int ledPins[]= {2,3,4,5,6,7};
void setup() {
// use a for loop to initialize each pin as an output:
for (int thisPin = 0; thisPin < 6; thisPin++) {
pinMode(ledPins[thisPin], OUTPUT);
}
}

void loop() {
// loop from the lowest pin to the highest:
for (int thisPin = 0; thisPin < 6; thisPin++) {
// turn the pin on:
digitalWrite(ledPins[thisPin], HIGH);
delay(timer);
// turn the pin off:
digitalWrite(ledPins[thisPin], LOW);
}

// loop from the highest pin to the lowest:
for (int thisPin = 5; thisPin > -1; thisPin--) {
// turn the pin on:
digitalWrite(ledPins[thisPin], HIGH);
delay(timer);
// turn the pin off:
digitalWrite(ledPins[thisPin], LOW);
}
}
Descripción
La declaración
Sintaxis
for (initialization; condition; increment) {
  // statement(s);
}
Parámetros
Contador: es el inicio de la primera iteración (repetición hasta alcancar la meta)
el punto de partida.
condición: en cada iteración verificamos si la condicion se cumple, si es verdadera
el bloque de instrucción y el incremento se ejecuta,
entonces la condición se prueba nuevamente.
Cuando la condición se vuelve falsa, el ciclo termina.
incremento: se ejecuta si se cumple la condición.